Homelab - Anki Card-Assisted Memory Software

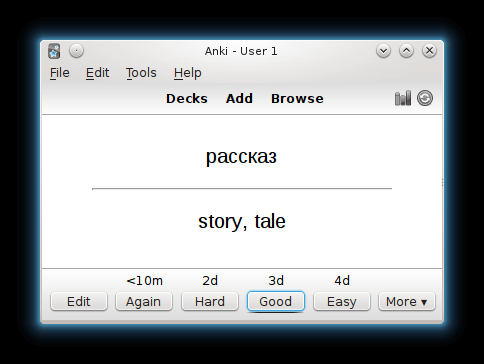
Anki is an open-source flashcard application designed to help users efficiently memorize various types of information, often used for vocabulary acquisition. Its key feature lies in its use of the spaced repetition technique, which generates appropriate review schedules based on your learning progress, enabling users to harness the brain's natural memory patterns for optimal memorization. Anki offers high customization, allowing users to create their own study cards, including text, images, audio, and video. It is also compatible with multiple platforms.
Since the synchronization server is hosted overseas, there may be occasional issues with synchronization. To address this, you can set up your own synchronization server using anki-sync-server. The following tutorial uses the johngong/anki-sync-server image, which has been verified to work, while other versions have not been tested.
Deployment (Docker Compose)
Begin by creating a compose.yaml file and paste the following content:
version: "3"
services:
  anki-sync-server:
    container_name: ${STACK_NAME}_app
    image: johngong/anki-sync-server:${APP_VERSION}
    ports:
      - "${APP_PORT}:27701"
    volumes:
      - ${STACK_DIR}:/config
    environment:
      - ANKI_SYNC_SERVER_USER=${APP_USERNAME}
      - ANKI_SYNC_SERVER_PASSWORD=${APP_PASSWORD}
      - UID=1000
      - GID=1000
    restart: unless-stopped
(Optional) It is recommended to create a .env file at the same level as compose.yaml and customize your environment variables. If you prefer not to use environment variables, you can directly customize your parameters within compose.yaml (e.g., replace ${STACK_NAME} with anki-sync-server).
STACK_NAME=anki-sync-server
STACK_DIR=/DATA/AppData/anki-sync-server # Customize your project storage path, e.g., ./anki-sync-server

# anki-sync-server
APP_VERSION=latest
APP_PORT=xxxx # Customize the access port to one that is not in use
APP_USERNAME=xxx@xx.com  # Customize your username (must be in email format)
APP_PASSWORD=xxxxxx # Customize your password
Finally, execute the docker compose up -d command at the same level as compose.yaml to launch the orchestrated container.
Configuration Instructions
Windows
For the Windows platform, I recommend using Anki 2.1.28 (Tested and working with version 2.1.65).
After installation, click on "Tools" in the top bar, then select "Add-ons." Click "Get Add-ons," enter the add-on code 358444159, and click "OK." Next, click "Preferences" and change the address to the server address and port where you deployed the anki-sync-server. Finally, restart the software.
After the restart, click "Sync" on the main interface, enter the email and password you provided during Docker deployment, and you will be able to synchronize your Anki data.
If synchronization is still not functioning, please refer to Setting up Anki.
Android
For the Android platform, AnkiDroid is the recommended choice. You can customize the server address without the need for any additional plugins, but it does require you to log in using HTTPS. We suggest using a reverse proxy for this purpose. To set up a reverse proxy server, you can refer to the article titled Homelab - Nginx Proxy Manager for Managing Reverse Proxy Certificates.
Once you have logged in using HTTPS, navigate to the main interface and select Advanced > Custom sync server to configure your custom server. Please take note that in the Media sync URL field, you should append /msync to the original address to ensure proper synchronization.
References and Acknowledgments
Original: https://wiki-power.com/ This post is protected by CC BY-NC-SA 4.0 agreement, should be reproduced with attribution.
This post is translated using ChatGPT, please feedback if any omissions.