Using Markdown for Efficient Writing
If you are used to writing with tools like Word, you may often encounter the following situations:
- Where is the bold button? Where is the button for lists? How can I insert images properly?
- What font size should be used for different headings? What is the appropriate font size for the body text?
- When opened in a different version of Word, the styles are not as I want them to be.
When the time spent on formatting surpasses the time spent on actual writing, it is evident that this writing method is not efficient. Markdown, on the other hand, allows you to focus on the act of writing itself without being constantly interrupted by formatting.
Tools
First and foremost, you need an editor that supports Markdown. I recommend using VS Code or Typora. For software installation and configuration, you can refer to a tutorial I have written: VS Code Productivity Guide - Environment Setup
Common Syntax
Markdown primarily uses the following syntax: headings, text styling, quotes, code, links, images, lists, tables, horizontal lines. Once you master these, you'll be at ease.
Headings
To create headings, add 1 to 6 # symbols in front of the heading text. The number of # symbols determines the level of the heading. In general, the structure of an article should not exceed 4 levels.
Text Styling
Style text by enclosing it with symbols on both sides:
| Style | Shortcut | Syntax | Resulting Style |
|---|---|---|---|
| Bold | Ctrl/⌘ + B | **Bold text** | Bold text |
| Italic | Ctrl/⌘ + I | *Italic text* | Italic text |
| Bold and Italic | ***Bold and Italic text*** | Bold and Italic text | |
| Strikethrough | ~~Strikethrough text~~ | ~~Strikethrough text~~ |
Note: Italic text is primarily designed for English. For readability and standardization, please avoid using italics for Chinese text.
Quoting Text
You can use the > symbol to quote a passage of text:
Just like the Christmas message from "Pirate Bay":

> We believe we've changed something. Not just us, but all of us. We no longer want to run just a website; we want to find some meaning. This cannot happen without your help. Our history is still being written, so please do not rush to conclusions.
Just like the Christmas message from "Pirate Bay":
We believe we've changed something. Not just us, but all of us. We no longer want to run just a website; we want to find some meaning. This cannot happen without your help. Our history is still being written, so please do not rush to conclusions.
Quoting Code
Inline Code
You can use backticks ` (found in the top left corner of the keyboard) to inline code. For example:
Extract the hugo.exe file from the compressed package to the D:\hugo directory.
Multi-line Code
If you need multiple lines of code, you can use triple backticks ` before and after the code block:
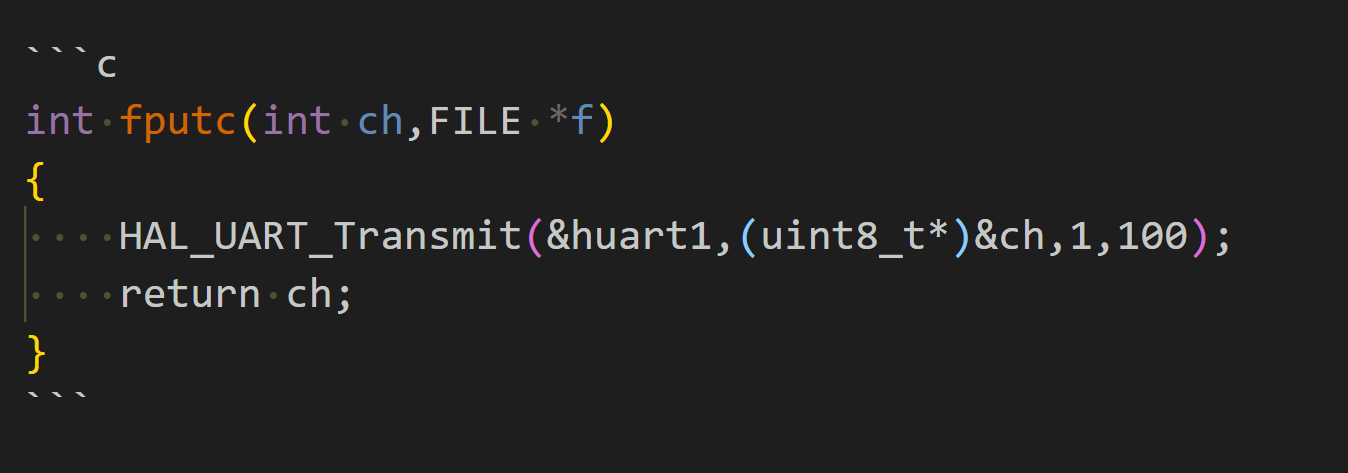
Here, `c` indicates that this code block is in the C language, and it will be rendered with syntax highlighting accordingly.
---

### Citas

Para citar un texto, simplemente agrégale el prefijo `>` al principio de la línea. Por ejemplo:

```markdown
> Esto es un texto citado.
```
Esto es un texto citado.
Texto en negrita y cursiva
Puedes enfatizar el texto de diversas maneras. Para hacerlo en negrita, coloca el texto entre ** o __. Para cursiva, utiliza * o _. Si deseas combinar ambas, puedes hacerlo con *** o ___. Por ejemplo:
Texto en negrita Texto en cursiva Texto en negrita y cursiva
Encabezados
Los encabezados se utilizan para organizar el contenido de tu documento. Puedes crear encabezados de diferentes niveles agregando uno o más símbolos # al principio de la línea. Cuantos más # coloques, más bajo será el nivel del encabezado. Por ejemplo:
Encabezado de nivel 1
Encabezado de nivel 2
Encabezado de nivel 3
Código
Para mostrar código en tu documento, puedes usar comillas invertidas (`) para resaltar fragmentos de código en línea, o bloques de código con tres comillas invertidas, seguidas del lenguaje de programación. Por ejemplo:
Fragmento de código en línea: printf("Hola, mundo!");
Bloque de código:
```c
include
int main() { printf("Hola, mundo!\n"); return 0; } ```
Notas al pie de página
Puedes agregar notas al pie de página a tu documento utilizando [^], seguido del texto de la nota. Luego, al final del documento, puedes definir las notas correspondientes. Por ejemplo:
Este es un ejemplo de una nota al pie de página[^1].

[^1]: Esta es la explicación de la nota al pie de página.
Este es un ejemplo de una nota al pie de página[^1].
[^1]: Esta es la explicación de la nota al pie de página.
Espero que esta traducción te sea útil. Si tienes alguna otra pregunta o necesitas más ayuda, no dudes en preguntar.
Puedes utilizar el símbolo --- para crear una línea divisoria y separar diferentes secciones de texto:

Funciones Avanzadas
Párrafos y Saltos de Línea
En Markdown, debes dejar una línea en blanco antes y después de un párrafo para diferenciar entre párrafos distintos.
Dentro del mismo párrafo, puedes crear saltos de línea simplemente añadiendo dos espacios al final de una línea.
Exportar a Otros Formatos
Si deseas exportar a PDF, Word, imágenes u otros formatos, puedes utilizar Pandoc para hacerlo.
Si estás utilizando VS Code, también puedes usar Markdown PDF para exportar documentos en formato PDF.
Escribir Artículos de Blog en Markdown
Para escribir artículos en blogs de WordPress o plataformas similares, que utilizan editores de texto enriquecido, puedes utilizar la herramienta web MD2WeChat para convertir tu contenido de Markdown y pegarlo en el editor de la plataforma.
Para obtener más detalles, consulta el artículo Cómo Escribir de Manera Efectiva con Markdown.
Referencias y Agradecimientos
- Métodos Personales para Editar en Markdown
- Escribir de Manera Efectiva con Markdown, Eliminando los Problemas de Formateo
- younghz/Markdown
- Aprender Markdown (Guía de Introducción a Markdown)
- Sintaxis Básica de Escritura y Formateo
Dirección original del artículo: https://wiki-power.com/
Este artículo está protegido por la licencia CC BY-NC-SA 4.0. Si desea reproducirlo, por favor indique la fuente.Este post está traducido usando ChatGPT, por favor feedback si hay alguna omisión.