VS Code Productivity Guide - Jupyter Notebook
Harnessing VS Code for enhanced productivity.

Jupyter Notebook is a robust tool that allows us to write, run code, view output, visualize data, and examine results all within a document environment. In other words, it greatly simplifies the process of creating documents that contain code.
In our previous article, we set up the basic VS Code environment. In this article, I will provide a detailed explanation of using Jupyter with VS Code.
Environment Configuration
As known to all, Jupyter Notebooks rely on a Python environment. To verify if you have a Python environment, go to the VS Code command palette (Ctrl + Shift + P) and type Python: Select Interpreter. If you see multiple Python versions to choose from, you're all set.
If you don't have a Python environment, you can install it using the following method:
- Download the latest version of Python from the Python official website (preferably the
web-based installerversion).
After setting up the local Python environment, you also need to install the Python extension within VS Code. In a recent update, Jupyter Notebooks have been included in this extension, so you no longer need to install them separately.
Creating Notebooks
Once the environment is configured, you can create a blank Jupyter notebook (.ipynb file) in the VS Code command palette (Ctrl + Shift + P) by typing Python: Create Blank New Jupyter. As shown in the following image, give it a quick test run:
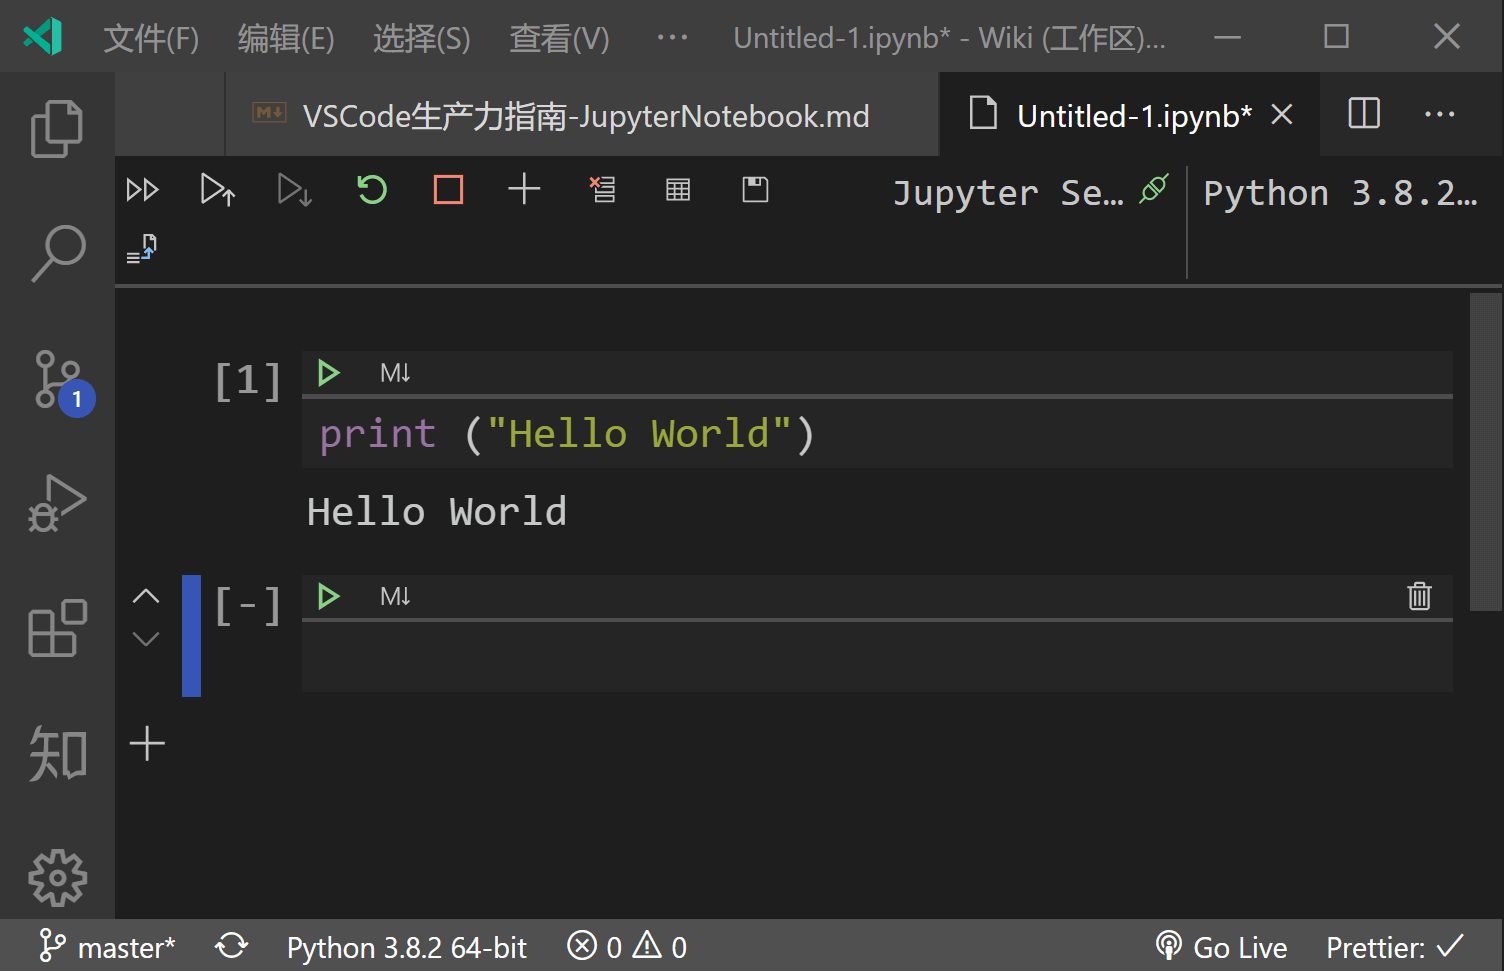
You can see that the code runs correctly.
Basic Operations
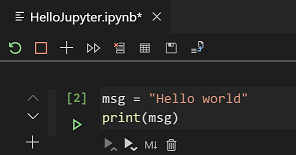
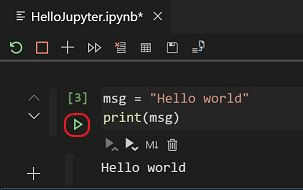
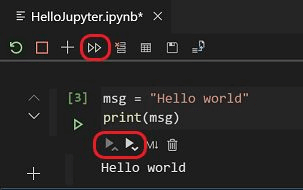
Jupyter Notebook uses code cells to create, edit, and execute code.
Adding code cells

Running a single code cell
Running multiple code cells
Moving code cells
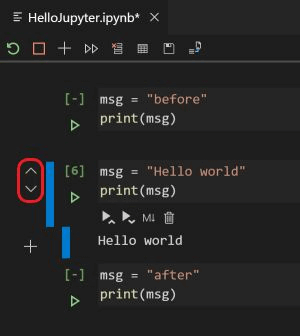
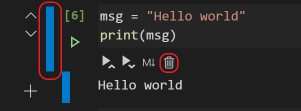
Deleting code cells
Switching between code and Markdown
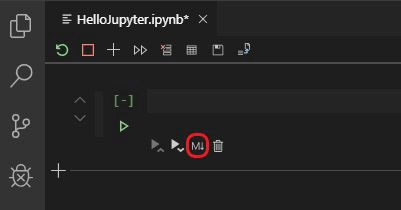
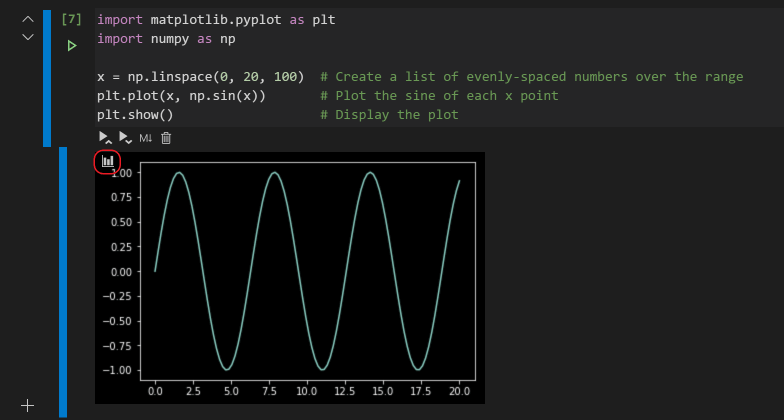
Chart Viewer
Through the chart viewer, you can easily examine the charts generated by your code and export them in various formats:
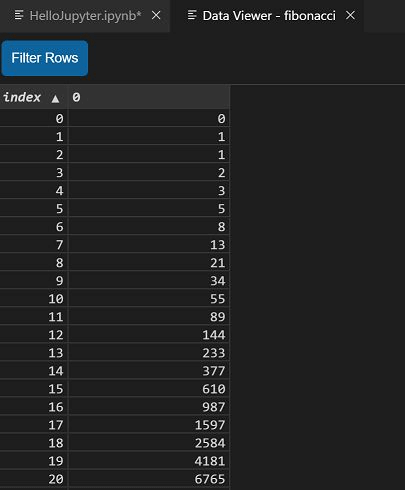
Data and Variable Viewer
You can monitor variable types, quantities, and values in real-time using the variable viewer.

You can also explore more specific data through the data viewer:
References and Acknowledgments
- Working with Jupyter Notebooks in Visual Studio Code
- VS Code Python - Brand New Release! Jupyter Notebook Native Support Has Finally Arrived!
Original: https://wiki-power.com/ This post is protected by CC BY-NC-SA 4.0 agreement, should be reproduced with attribution.
This post is translated using ChatGPT, please feedback if any omissions.